Finished Scarf and Embroidery Bush

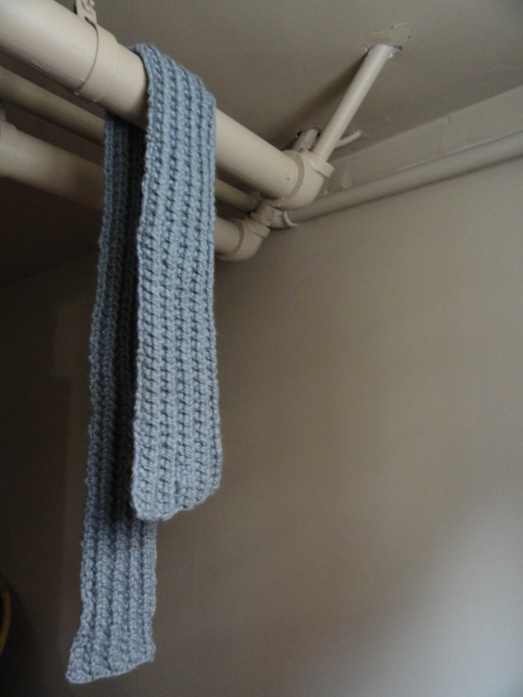
As excited as I was for the wolf sweater, realism began to set in. At the pace I am able to knit, this gift will take way too long to finish for my brothers celebrations on Sunday. Instead, I will use the wolf sweater as a very advance start on his Christmas gift, and bring him this scarf:

I used 8mm needles, a nice chunky yarn, and “Mistake Rib” pattern so the project went by very fast.

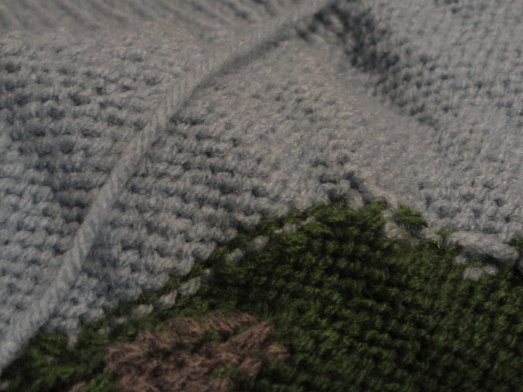
I also picked up a smaller project to have something to do on the subway. I am in need of a bag the right size to carry things to work with me, and before I get sewing, I wanted to embroider an image of my cat sniffing her favourite bush on the front. Nine times out of ten, it is the first thing she does when we let her outside. So far, I have finished the bush, but have yet to add a cat.

The stem is done in 6 strand basket stitch, the branches in 4 strand split stitch, and the leaves in lazy daisy stitches with 2 dark green and 1 light green thread. This was an excellent chance for me to practice some of my stitches, because most of my embroidery projects so far have focused heavily on stem stitch. Excellent video tutorials for embroidery stitches can be found here:
http://www.needlenthread.com/videos .

Knitting a Wolf Sweater

I am knitting a wolf sweater for my brother for his birthday. I have not yet gotten very far, and it has been an adventure already. It will have this wolf head on the front, which I have charted out into black, white, and grey shading:

and this howling wolf on the back, which I have simplified from five shades on the wolf to three:


(Found: http://www.knittingonthenet.com/patterns/motifwolf.htm)

I am modifying a basic sweater pattern found on knitty.com to help with the shaping.

I started with the back side of the sweater, because the shaping around the arms, neck, and shoulders seemed easier for me to try first, since I have never knit a sweater before. Here is my progress so far, I have gotten as far as its paws:

Things I have Learned:

  • Knitting a piece this large and complicated actually takes a long time! I do not find it any more difficult to work with more colours and more bobbins of yarn than I had practiced with so far, but the time it takes to refer to the pattern and change colours so often really adds up.
  • Having stitch markers and a row counter is essential. If you don’t have a row counter, keeping a tally on paper works just fine, but with a large intricate pattern it helps to have something to remind you where you last left off. For stitch markers, I just use a thread tied in a loop with the stitch number on a folded piece of tape that holds the knot tied.
  • Using as many separate bobbins of yarn as this project takes creates a bulky, heavy piece. This is definitely not coffee shop/ subway knitting! I’ve found that working at a desk of the right size to support the bobbins I am not using works well.
  • It is possible to fix mistakes on the previous row. As I worked my way across a knit row, I came across five accidental purl stitches from being careless the row before. By carefully slipping each incorrect stitch off the needle one at a time, it was possible to reverse the direction the top yarn pulled through the lower loop.
  • It will save time at the end, and tangles while working the piece to weave in tails of yarn a few rows after stopping or starting a particular thread. Weaving the ends in was not nearly so hard as I expected. It  looks neat from the back, and invisible from the front! For example, see how unobtrusive the green and grey ends are:

Knitted Sample Squares 3

I have continued knitting my sample squares this week from Margaret Hubert’s book “The Complete Photo Guide to Knitting”.  This week, the textures have started to get a little bit more complex. I have also been experimenting with finding the best indoor lighting for my pictures. I find my camera sometimes has a hard time with the close-up pictures of fine yarn textures, but with a little practice, I think I will be able to improve the quality of the shots. The patterns I have learned this week are:

Berry

Tiny Pebbles
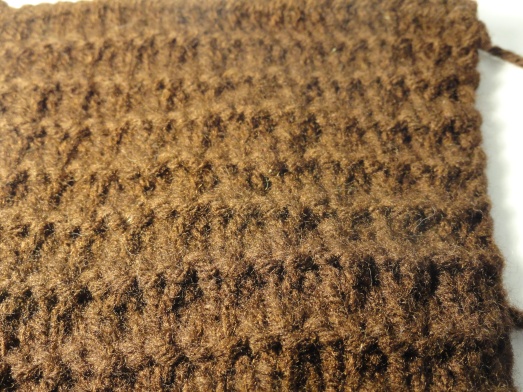
Braids

Crossed Diamonds – This was my first introduction to “Cross Two Stitches Left (Cr2L)” and “Cross Two Stitches Right (Cr2R)”. I did not find the stitch too difficult in itself, but sometimes found I had to keep a finger on the point of the needle while I worked the back stitch to keep the front stitch from slipping off prematurely.

Horizontal Nubs

Airy Garter Stitch

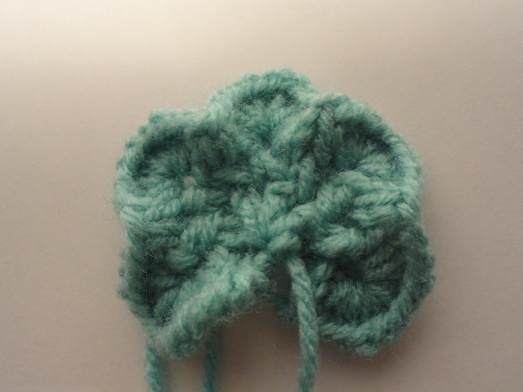
I also jumped ahead a little bit to try out some shaping, making a small flower and a small leaf.
And finally, in anticipation and preparation for knitting a gift in colour work, I tried my first sample of Intarsia knitting. Using graph paper, I drew out two leaves in a square. Since Intarsia knitting works in stockinette stitch,  I surrounded the piece in four stitches and four rows each direction of garter stitch to prevent rolling.

But I haven’t yet learned how to weave in the tail ends.
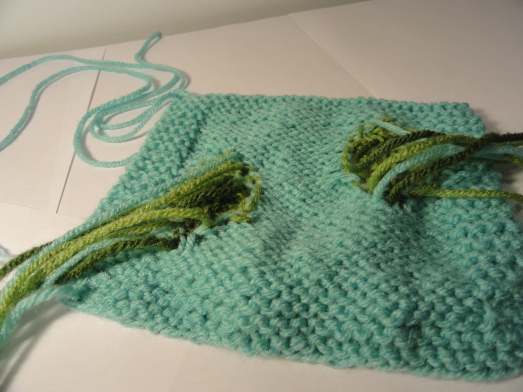
Maybe next time I try this sample, I will use one strand of the light green for both sides of the leaf, crossing the stem Fair Isle style, so that I have less threads hanging at the back.

Things I have learned this week:

  • The hardest part about knitting is learning to read the patterns. Finding videos online can be helpful in deciphering confusing descriptions.
  • Knitting a test swatch to check for gauge is very important if you are trying to knit a specific size piece. In the 5″ square I have been making, all using the same kind of yarn and the same needles, my gauge has sometimes varied by 1 stitch per inch or more.
  • Creating fancy stitches such as purl 3 together, or cross two stitches left or right, is easier on a needle  which provides a longer tapering to the point, because it provides a loosening of several stitches to work with, without bringing them too close to the end where then may slip off. The 6mm needles that I have been practicing with take about 2cm to narrow to a point, but my 3.75mm needles only provide about 1cm to work with at the front of the needle.
  • Binding off is much more versatile than I had originally thought. The bind off method of knitting two stitches, then slipping the first stitch over the second and off the needle can be modified into a lot of other stitches in a pattern. I think the method might better be described as, “create two stitches as described in your pattern, then slip the first stitch over the second and off the needle.” For example, In the Crossed Diamonds pattern, the series I was supposed to be using on the bind off row was “K3, *k1, Cr2R, k3, rep from * to last st, end k1”. To bind off this row I would knit the knit stitches and cross the crossed stitches as directed before slipping the first stitch over the second and off the needle.

Knitted Sample Squares 2

This week I’ve been continuing to knit sample squares of the stitches in Margaret Hubert’s book ” The Complete Photo Guide to Knitting”. These are the stitches I have learned this week:

Twisted Knit One, Purl One Rib

Knit Two, Purl Two Rib

Star Stitch – I like this one a lot! It was the hardest one to do so far, but looks really neat.

Geometrics

Seed Stitch Diamonds

Trinity